cook
cook
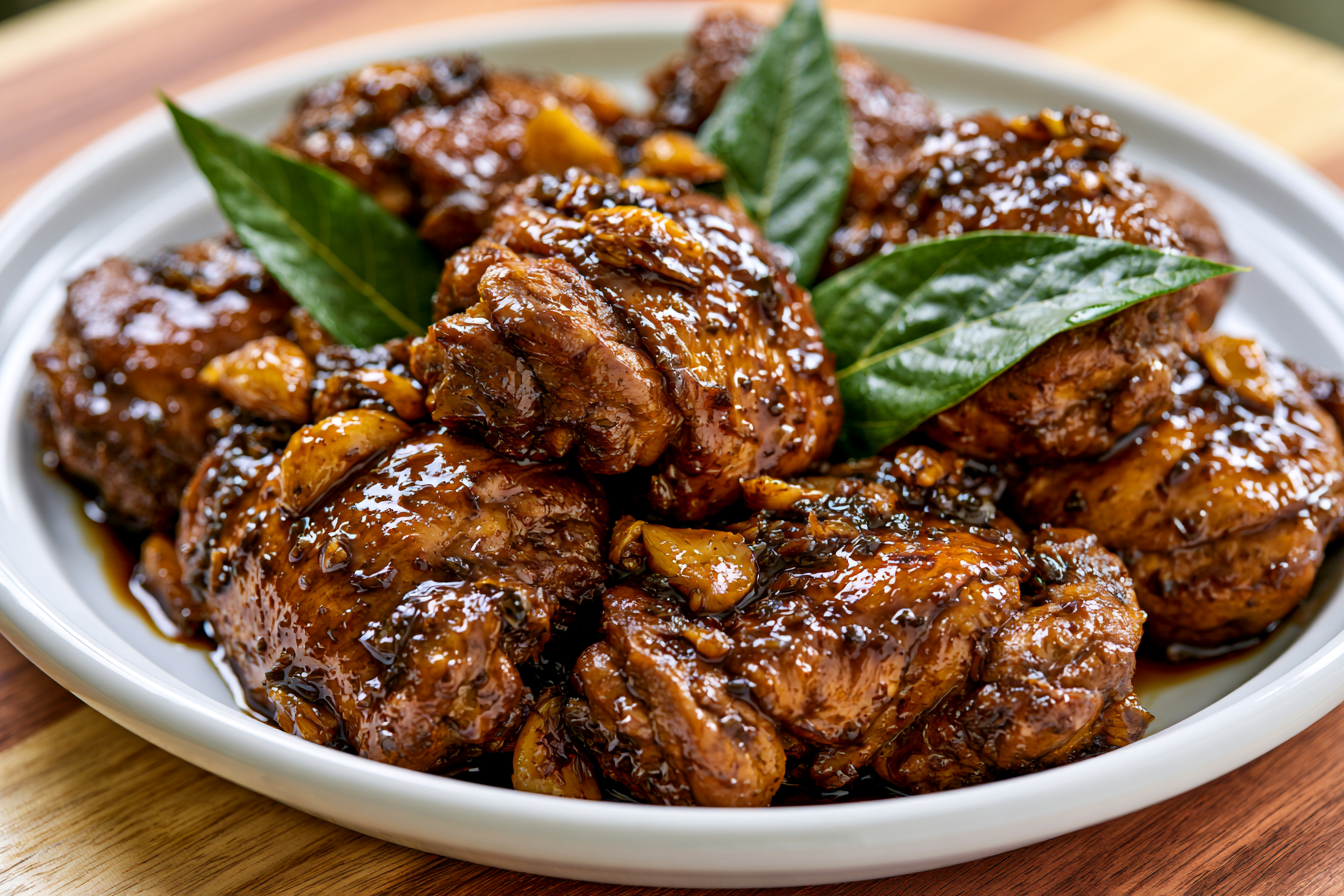
Chicken adobo is the unofficial national dish of the Philippines—and for good reason. Chicken thighs braise gently in a tangy-savory sauce of soy sauce, vinegar, garlic, and bay leaves until fall-apart tender and deeply flavored. It’s humble, forgiving, and absolutely craveable. Serve it over steamed rice to soak up every drop of that complex, umami-rich sauce.
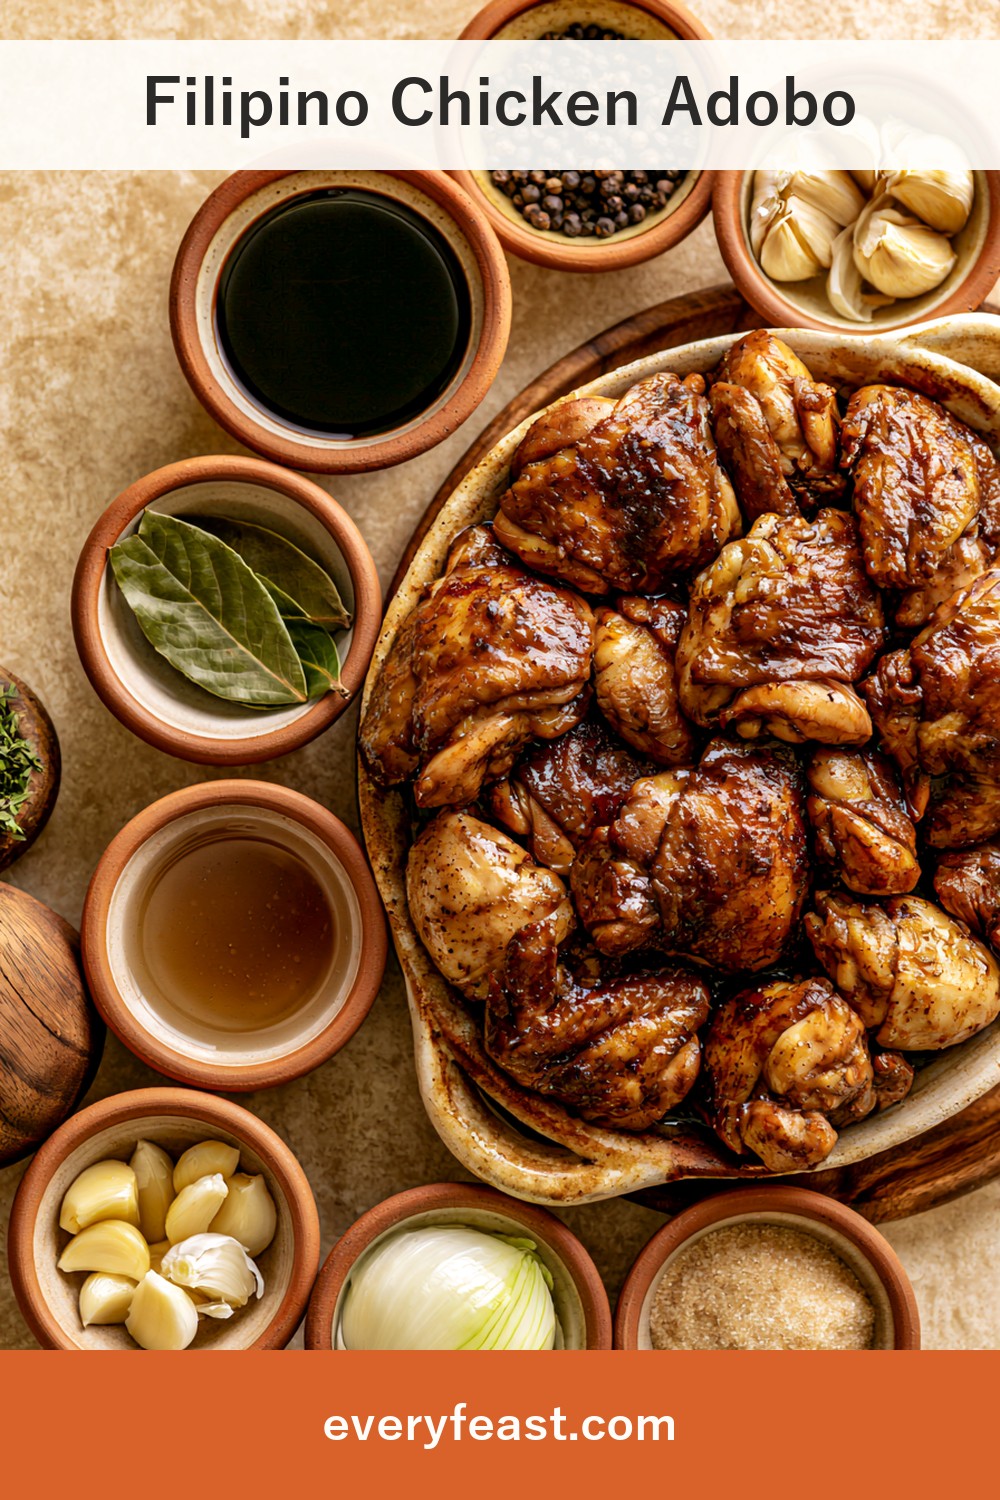
What is chicken adobo?
Chicken adobo is a Filipino braised dish where chicken is slow-cooked in a sauce of soy sauce, vinegar, garlic, and bay leaves. The technique is simple—brown the chicken first, then simmer gently until tender—but the result is surprisingly complex. The acidity from the vinegar is balanced by the saltiness of the soy, while the long cooking time allows the garlic to mellow and perfume the entire pot. It’s a dish that tastes even better the next day.
Why you’ll love it
- One-pot simplicity with restaurant-quality depth; minimal ingredients, maximum flavor
- Incredibly forgiving; there’s almost no way to overcook it thanks to the braising liquid
- Gets better with time—make it ahead and reheat. It’s a perfect weeknight dinner or weekend meal prep
Ingredients (serves 4)
| Ingredient | Amount | Where to find it / Substitutes |
|---|---|---|
| Chicken thighs (bone-in, skin-on), cut into 5 cm (2 in) pieces | 800 g (1.75 lb) | Meat counter; about 8 thighs |
| Soy sauce | 100 ml (0.4 cup) | Asian aisle; use regular soy, not tamari |
| White vinegar or cane vinegar | 75 ml (0.3 cup) | Pantry or Asian aisle; use white or rice vinegar |
| Garlic cloves, smashed | 10–12 cloves | Fresh produce; smashing releases more flavor |
| Bay leaves, dried | 3–4 leaves | Spice aisle |
| Black pepper, freshly cracked | 0.5 tsp | Pantry |
| Canola or vegetable oil | 2 tbsp | Pantry |
| Water or low-sodium chicken broth | 250 ml (1 cup) | Pantry or produce |
| Brown sugar (optional, for balance) | 1 tsp | Pantry |
| Salt | To taste | Pantry |
Allergens: Soy (soy sauce). Chicken must be fully cooked through with no pink at the center or in the thickest part of the thigh; braising ensures complete cooking.
How to make it
-
Brown the chicken: Heat the oil in a large, heavy-bottomed pot or Dutch oven over medium-high heat. Working in two batches, add the chicken pieces, skin-side down, and cook for 4–5 minutes until the skin is golden and crispy. Flip and cook the other side for 2–3 minutes. Transfer to a plate and set aside. Do not crowd the pot.
-
Prepare the sauce: In the same pot (don’t clean it—the browned bits add flavor), add the smashed garlic cloves and cook over medium heat, stirring frequently, for 1–2 minutes until fragrant and lightly golden.
-
Deglaze and simmer: Pour in the soy sauce, vinegar, water (or broth), and add the bay leaves and black pepper. Scrape the bottom of the pot with a wooden spoon to lift any browned bits. Return the browned chicken to the pot, nestling it into the sauce. If the chicken is not fully submerged, add more water or broth.
-
Braise low and slow: Bring the liquid to a gentle boil, then reduce to a low simmer. Partially cover the pot (leave the lid slightly ajar). Simmer for 40–50 minutes, stirring occasionally, until the chicken is extremely tender and easily pulls apart with a fork. The sauce should reduce slightly and deepen in color.
-
Taste and finish: Remove from heat. Taste the sauce and adjust seasoning with salt or a touch of brown sugar if it needs balancing. The sauce should taste savory, tangy, and slightly sweet from the natural juices of the chicken. If the sauce is too thin, simmer uncovered for another 10 minutes to concentrate the flavors.
Tips for success
- Don’t skip browning the chicken: The golden skin and browned bits on the bottom of the pot build deep, savory flavor that the braising cannot replicate.
- Smash the garlic cloves: Don’t mince them—smashing releases more flavor and also makes them easier to eat or remove from the pot.
- Use bone-in, skin-on chicken thighs: They stay juicy and tender during the long braise. Breasts will dry out.
- Partial cover, not full cover: A slightly ajar lid allows excess steam to escape and sauce to reduce, concentrating flavors. Fully covered, it becomes too watery.
- Let it sit overnight: Make adobo a day ahead. The flavors meld and deepen significantly; simply reheat gently over low heat.
Variations / Storage
- Pork adobo: Use 800 g pork shoulder or pork belly, cut into chunks. Cook time remains the same.
- Duck or goat adobo: Tougher, fattier meats like duck or goat love this braise; increase cooking time to 75–90 minutes if using very large chunks.
- Extra garlicky: Increase garlic to 15–18 cloves for a deeper, sweeter garlic note.
- Spicier heat: Add 2–3 whole dried chilies or 1 tsp chili flakes along with the soy sauce and vinegar.
- Storage: Adobo keeps beautifully in the refrigerator in a covered container for up to 5 days and freezes for up to 3 months—storage life varies with conditions. Reheat gently in a pot over medium-low heat, stirring occasionally. The flavors intensify over time.
FAQ
Q. Can I use chicken breast instead of thighs?
A. You can, but they’ll be drier. If you prefer breast, use boneless, skinless breasts and reduce the cooking time to 25–30 minutes, checking for doneness at 20 minutes.
Q. What kind of vinegar should I use?
A. Traditional adobo uses white vinegar or cane vinegar (sukang maasim). Rice vinegar also works well. Avoid balsamic or wine vinegars, which are too sweet and won’t give the same tang.
Q. Is the brown sugar necessary?
A. No, it’s optional and a matter of preference. Some cooks add a touch to balance the acidity; others skip it. Taste as you go and adjust.
Q. Can I make this in a pressure cooker?
A. Yes. Pressure cook on high for 15 minutes after browning and adding the sauce. Natural pressure release for 10 minutes, then quick release. The sauce will be thinner, so simmer it uncovered afterward to reduce.
Q. What’s the best way to serve adobo?
A. Over steamed white rice with cucumber slices on the side. Some add a fried egg on top, or serve with pickled papaya for extra tang.